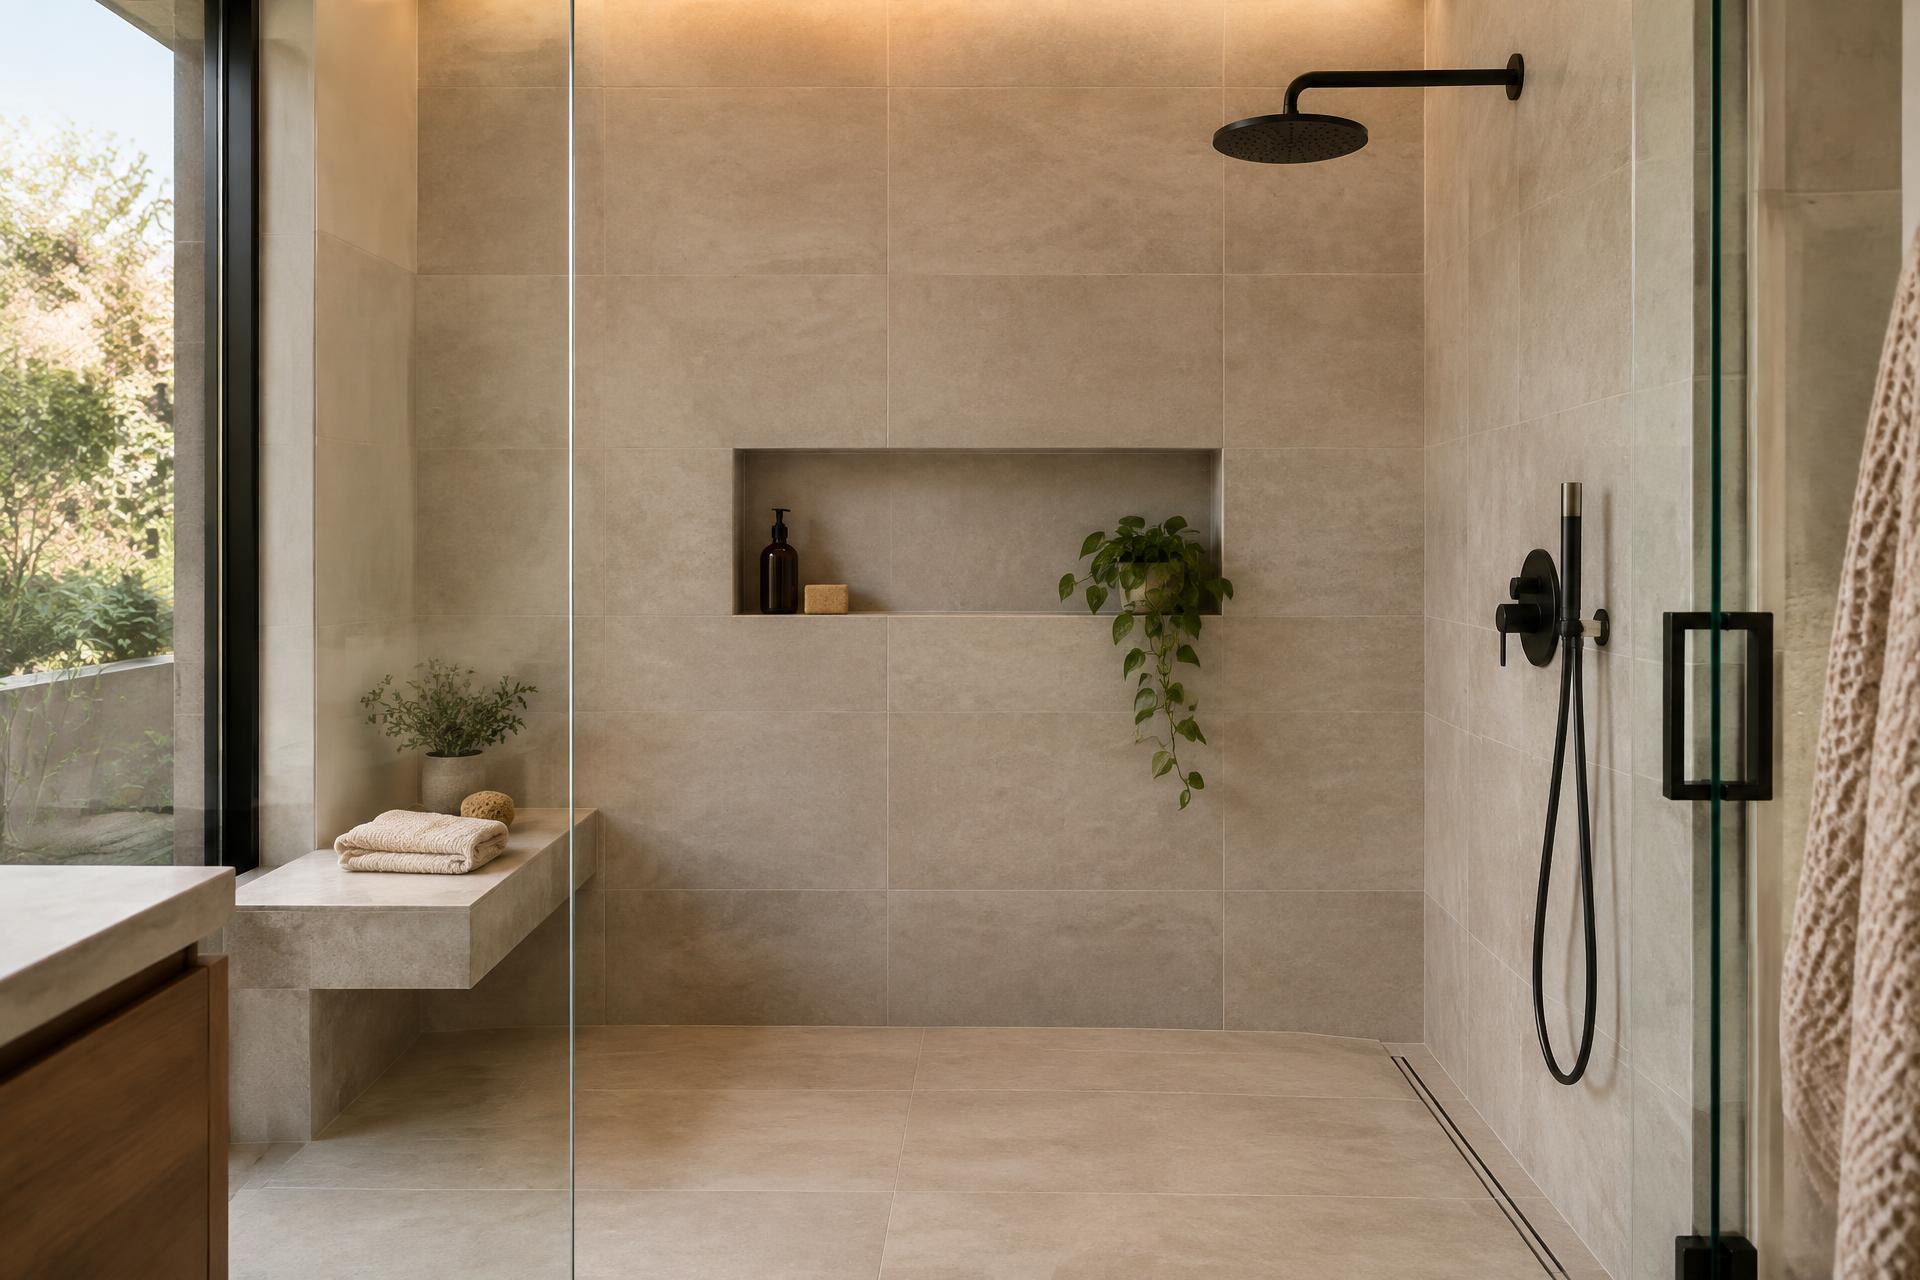
Shower Remodeling
A better shower starts with what you cannot see.
Preparation, drainage, waterproofing strategy, and layout determine whether a shower merely looks new—or is properly rebuilt.
Correct the room. Do not just cover the problem.
Centerline remodels showers across Phoenix, Scottsdale, Gilbert, Mesa, Chandler, and Tempe, including tub-to-shower conversions where the room allows. You select the finish material. Julian plans how niches, benches, drains, edges, and tile courses work together before permanent decisions are made.
Disciplined Water Management
Slope, drain placement, and preparation are addressed as core performance decisions, not hidden details.
More Usable Space
Proportion, clearances, and sightlines are resolved to make the shower function larger—not simply look newer.
Integrated Storage
Niches and benches are positioned around the tile field so utility does not interrupt the design.
Lower-Maintenance Details
Clean transitions and fewer awkward surfaces reduce the places where moisture and residue collect.
Tub-to-Shower Conversions
Where conditions permit, an underused tub can become a purposeful walk-in shower with better daily access.
Project Photography
Work in this category.
Representative imagery. Centerline project photography is being added — no image on this site is presented as a completed Centerline job until real project photos are installed.
The Process
Good outcomes are decided before the first tile is set.
Assess
We evaluate the existing room, your priorities, and the materials you intend to use.
Resolve
Layout, focal points, cuts, edges, and transitions are settled before installation begins.
Execute
The substrate is prepared correctly and each course is set against a deliberate plan.
Inspect
Alignment, joints, corners, and transitions are reviewed as a complete installation—not isolated details.
Services
Focused expertise for the surfaces that define the room.
Bathroom Remodeling
Resolve the entire room with durable materials, deliberate transitions, and one coherent finish.
ViewTile Installation
Protect the value of your chosen material with balanced cuts, consistent joints, and properly resolved edges.
ViewHardwood Flooring
Install natural wood with disciplined board selection, clean transitions, and a layout that gives the entire home continuity.
ViewLVP Flooring
Gain the look of wood with resilient luxury vinyl plank, precise seams, and transitions planned for everyday traffic.
ViewTravertine Installation
Turn natural variation into a balanced field through careful sorting, placement, and stone-specific execution.
ViewStart the Conversation
Your material deserves an installation equal to the investment.
Tell us what needs to change, what you have selected, and what a successful result means for your home.